The Sale Star is one of the most deceptively powerful utility items introduced in the Seekers of the Storm expansion for Risk of Rain 2. At first glance, it seems simple—an item that grants an extra reward from the first chest you open each stage. But behind that modest description lies a highly technical system of stacking chances, complex chest interactions, multiplayer nuances, and game-changing synergies that can dramatically reshape a run. For players who understand its mechanics, Sale Star becomes a strategic tool capable of multiplying item gains, accelerating power spikes, and producing some of the most absurd multi-item chest drops in the entire game.
This guide explores the Sale Star in exhaustive detail: how its guaranteed and probabilistic effects work, how stacks influence extra rolls, how it behaves with every major chest type, and what to expect in both solo and multiplayer scenarios. We’ll break down its math, best-use cases, synergies with high-impact items, common pitfalls, and advanced strategies that experienced survivors use to extract maximum value from each stage. Whether you’re a new player wondering why the blue ring appears around certain chests, or a veteran looking to optimize legendary chest manipulation, this guide will give you everything you need to master the Sale Star and unleash its full potential in your runs.
Table of Contents
What Sale Star does — plain mechanics
- Base effect: On the first compatible chest you open each stage, Sale Star causes that chest to yield one extra item (so 2 items total from that chest instead of 1). That base extra is effectively guaranteed for the first chest when you have at least one Sale Star.
- Stacks: Each additional Sale Star increases the chance for further extra items beyond the first extra one. With many stacks you can get up to 4 additional items (so up to 5 items total from a chest). The per-stack increase used by the game is effectively +5% chance per stack toward additional items (explained below in Math).
- Consumed/Reset behavior: When Sale Star triggers (i.e., is used on a chest) it is turned into a consumed form for that stage. At the start of the next stage, it becomes available again (so the effect is once-per-stage). If you pick up another Sale Star after it was consumed that same stage, it can still affect a later chest that stage (stacking counts currently held).
- Which interactables work: Sale Star works with: Small Chest, Large Chest, Legendary Chest, Category Chest, Large Category Chest, Adaptive Chest, Equipment Barrel, Rusty Lockbox, Cloaked Chest, and similar chest-like interactables. It does not affect all interactables (so don’t expect it to affect, for example, some special vending interactions). A blue ring appears when you’re in range of a compatible interactable if you have Sale Star stacks — handy reminder.
Math & probabilities (how multiple extra items are rolled)
The chance model is more complex than “each stack = flat +5% to another item”, but the practical representation players use:
- Guaranteed: 1 Sale Star = guaranteed 1 extra item on the first compatible chest of the stage.
- Chaining extra items: After the guaranteed extra, the game performs additional independent checks for more extra items. Each additional Sale Star contributes +5% to the chance of those extra-item rolls (so stacking increases the probability of receiving a 3rd, 4th, etc. item). Math produced practical thresholds:
- ~47 stacks gives ~100% chance for at least 3 drops (i.e., two extra after the first).
- ~114 stacks gives ~100% chance for at least 4 drops.
- ~1980 stacks is the theoretical threshold to guarantee 5 drops (practically impossible in normal runs).
Practical takeaway: you do not need dozens of stacks to get value — even a couple of Sale Stars are great because you get a guaranteed second item on your first chest, and any extra stacks just increase chances for more. But if you’re wondering if 2 stacks will reliably give 5 items — no, it won’t; that requires unrealistically high stacks.
Important behavior & edge cases (multiplayer / adaptive chests / order of activation)
- Adaptive Chest nuance: Adaptive Chests present multiple item choices. Sale Star can trigger at two times: when the chest is opened or when a player selects a reward. Which player’s Sale Star counts can change outcomes:
- If an opener with Sale Star triggers it on opening, and then a different player chooses the item, the chest will remember the opener’s stacks and drop multiple copies of the chosen item.
- If the selecting player has Sale Star stacks, their stacks determine how many items are dropped instead.
This can lead to surprising multiplayer situations where the opener’s stacks or the selector’s stacks determine the result.
- Adaptive Chest copies behaviour: If Sale Star triggers for an Adaptive Chest, all extra copies match the chosen item (so you can get multiple copies of the same item). This makes Sale Star especially powerful on Adaptive Chests when you want multiples of a particular item.
- Works on Equipment Barrels / Rusty Lockbox / Cloaked Chest: Sale Star will produce extra items from these chests (some of these chests yield equipment or special items), so it’s not limited to the common small/large chests.
- Who triggers it in co-op: Because the game stores which stacks triggered a chest (see Adaptive Chest nuances), multiplayer timing matters — opening and selecting in different order can change whether Sale Star triggers and whose stacks are used. Playmates can intentionally “pass” the chest to a teammate with Sale Star for best results.
Best chests and optimal uses (where to burn Sale Star)
You want Sale Star to trigger on the highest value, highest-tier chests so that extra items are meaningful:
- Legendary Chest (huge upside; can net multiple reds/legendaries).
- Large Chest / Large Category Chest (higher chance for rarer items).
- Category Chest / Large Category Chest (if you need a particular item type).
- Adaptive Chest — excellent if you can force the extra copies to be the rare item you pick (see multiplayer notes).
- Equipment Barrels / Special chests (if you want multiple copies of a strong equipment like Recycling or other rare equipment).
Do not waste Sale Star on: small chests that give junk, early-stage cheap chests, or when you need to save the one-per-stage for a later, guaranteed better chest in the same stage (the blue ring helps avoid accidental waste). Mods like WolfoQualityOfLife or GotSaleStarred can warn you if you waste it (see Mods section).
Synergies & combos (items that make Sale Star shine)
- 57 Leaf Clover (Luck) — increases chance for better rarities from the extra rolls; combining increases the chance the extra items will be rarer.
- Items increasing chest quality / quantity — anything that improves base chest rarity (or adds more chests per stage) multiplies Sale Star’s value.
- Artifact of Sacrifice / Sacrifice-like effects — Sale Star interacts very well with certain artifacts that multiply chest outcomes (you can get insane payouts on some stages).
- Multiplayer coordination — have the teammate with most Sale Star stacks open the chest or pick the item depending on the situation to control which stacks the chest uses (see Adaptive Chest behavior).
When Sale Star can feel OP — examples & anecdotes
Players often report hilariously good outcomes: multiple legendary items from one chest, duplicate powerful items (like getting multiple Recycling or Captain’s Favor combos), or turning a single large chest into a stage-changing haul. These moments are the primary reason Sale Star is considered among the more impactful utility items in many runs.
Strategy templates (how to play with Sale Star)
Early stage (S1–S2):
- If you pick up Sale Star early, try to save it until you find a large/legendary/category chest rather than burning on the nearest small chest. The blue ring will help you remember you have it.
Mid game (S3–S4):
- Use Sale Star on legendary chests or equipment barrels. If in co-op, coordinate who opens/selects to maximize copies of a desired item.
Late game (S5+ / loops):
- If you’ve stacked multiple Sale Stars, time it when you can get maximum benefit (e.g., a chest that can drop high-tier items or an adaptive chest where you can pick a red). Stacks can sometimes produce multiple reds — can be run-changing.
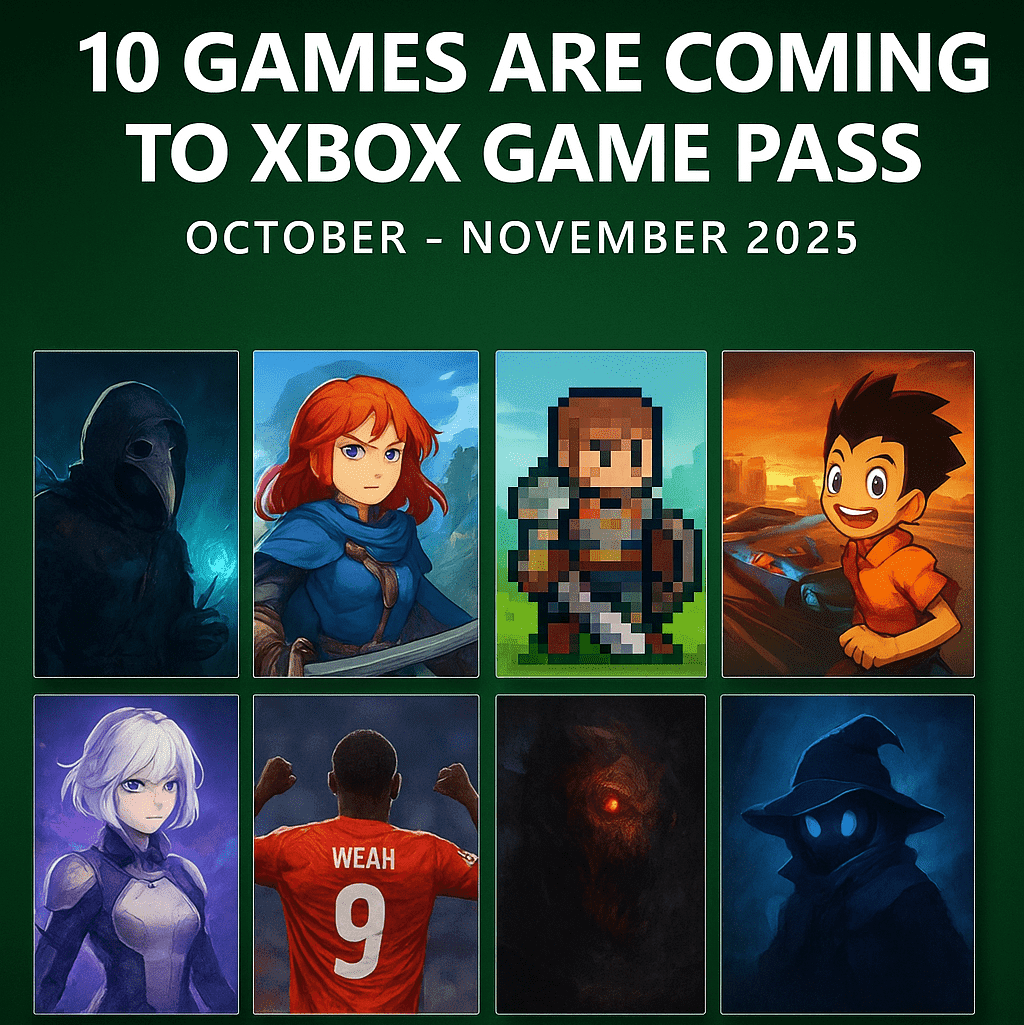
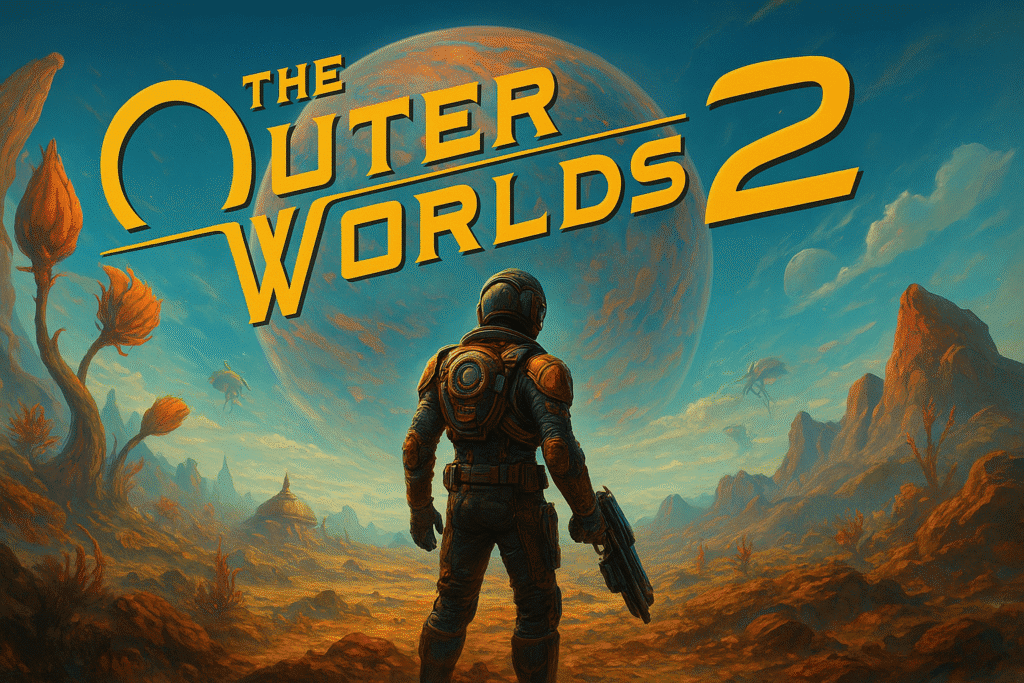
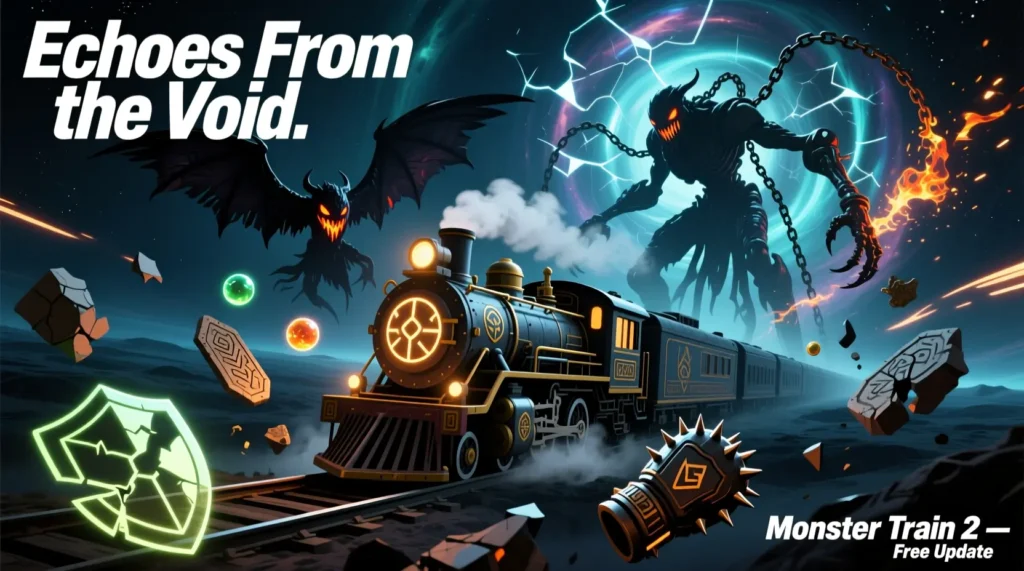
More Posts:
Hi, I’m Anshul Patel, author and co-founder of TigerJek.com. I am a long-time Roblox and mobile gaming enthusiast with 6+ years of gameplay experience. I test every method, build, and strategy personally before writing guides for TigerJek. My goal is to simplify complex games and help players progress faster.